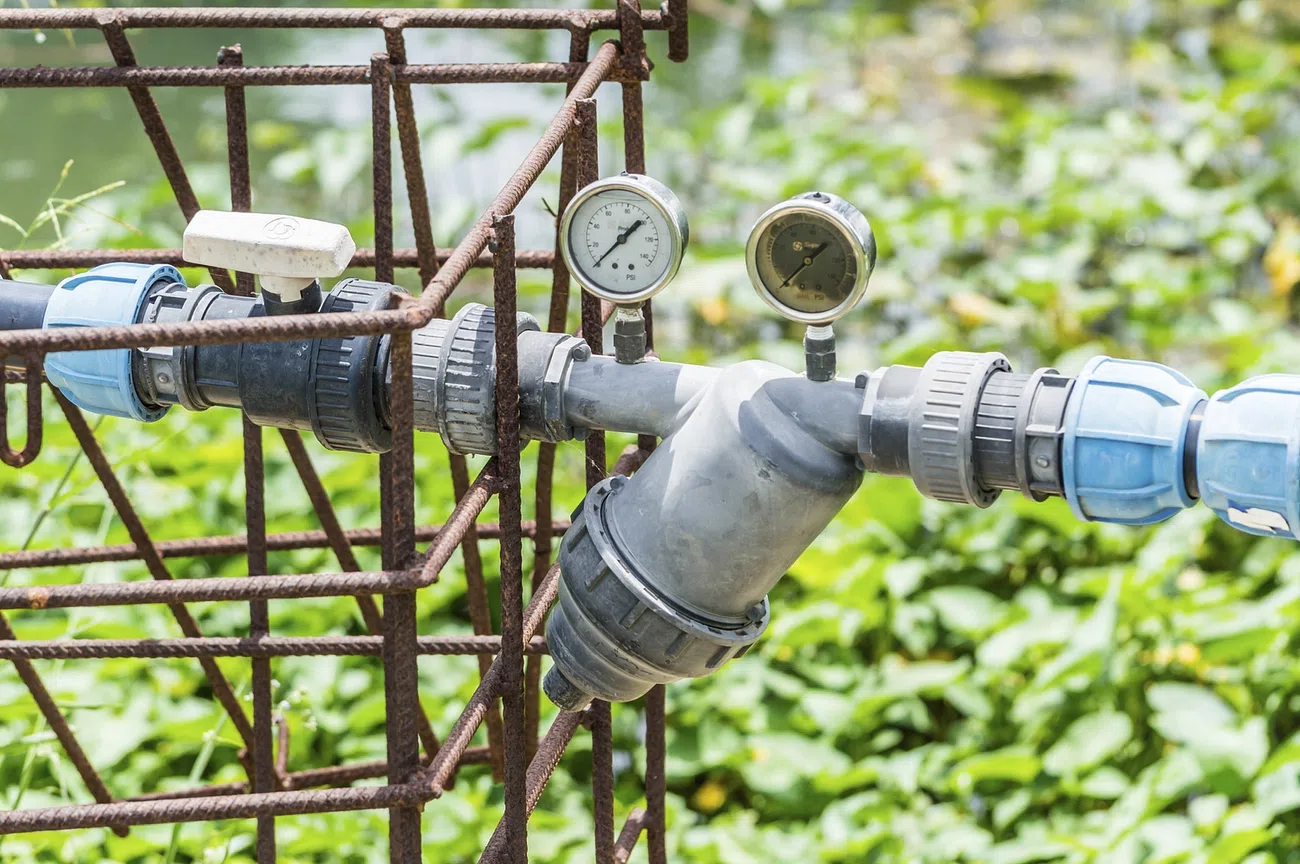
In the realm of gardening, a well-functioning irrigation system is akin to a lifeline for your green oasis. It ensures your plants receive the right amount of water at the right time, fostering healthy growth and vibrant blooms. However, like any system, irrigation setups can encounter issues that require prompt attention and repair. Understanding the fundamentals of irrigation repair is essential for any gardening enthusiast keen on maintaining a flourishing landscape. In this guide, we’ll explore the basics of irrigation repair to help you keep your garden green and thriving.
Identifying the Problem: The first step in irrigation repair is identifying the problem. Common issues include leaky pipes, clogged sprinkler heads, malfunctioning valves, and low water pressure. Begin by inspecting your irrigation system thoroughly. Look for wet spots, puddles, or areas of overwatering, which could indicate leaks. Test each sprinkler head to ensure they are functioning correctly and check for any blockages. Additionally, examine valves and connections for signs of damage or wear.
Tools of the Trade: Equipping yourself with the right tools can make irrigation repair more manageable. Some essential tools for basic repairs include:
- Adjustable wrench
- Pipe cutter or hacksaw
- PVC primer and cement
- Teflon tape
- Screwdrivers (Phillips and flathead)
- Replacement sprinkler heads or valves
- Pipe fittings and couplings
Having these tools on hand will allow you to tackle most common irrigation issues effectively.
Repairing Leaks: Leaks in irrigation pipes can lead to water waste and damage to your landscape. Once you’ve located the source of the leak, you can proceed with the repair. For minor leaks, applying PVC primer and cement to seal the leaky joint is often sufficient. However, for larger leaks or damaged pipes, you may need to cut out the affected section and replace it with a new piece of pipe. Remember to use proper fittings and ensure a secure connection to prevent future leaks.
Clearing Blockages: Clogged sprinkler heads can result in uneven watering and poor coverage. To clear blockages, remove the sprinkler head from the riser and inspect it for debris or dirt buildup. Use a small tool or wire to dislodge any obstructions, taking care not to damage the nozzle. Once cleared, reattach the sprinkler head and test it to ensure proper function.
Valve Maintenance: Malfunctioning valves can disrupt the flow of water to your irrigation system. If you suspect a faulty valve, start by inspecting it for any visible signs of damage or wear. Clean the valve and surrounding area to remove any debris that may be affecting its operation. In some cases, replacing the valve diaphragm or solenoid may be necessary to restore proper function.
Routine Maintenance: Prevention is key to avoiding costly irrigation repairs. Implementing a routine maintenance schedule can help keep your system in top condition. Regularly check for leaks, inspect sprinkler heads, and clean filters to prevent blockages. Additionally, adjust your irrigation schedule seasonally to account for changing weather patterns and plant needs.


